
Though there’s still one month left of winter, the weather is slowly heating up and travelers are preparing for their first trip of the season. De-winterizing your RV is a critical part of getting back on the road for more adventure in 2021! Check out these steps below to get your camper ready for another year of travel.
1: Take a Look Around the Exterior of your
A great place to start when de-winterizing your RV is the exterior. As the first part of the rig you see, and the area most exposed to the elements, your camper’s exterior is an essential area to maintain.
Start with a visual inspection, looking for cracks in the seals, as well as damage in other areas. If necessary, reseal doors and windows, and check the seams of slid-outs as well.
Check for water damage, and make sure to get a good look at the roof of your camper. Structural damage cannot be ignored if you plan on having a safe trip.
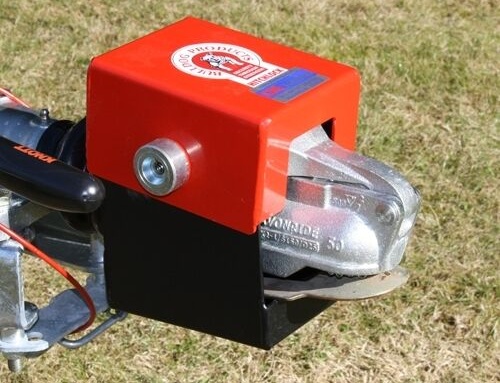
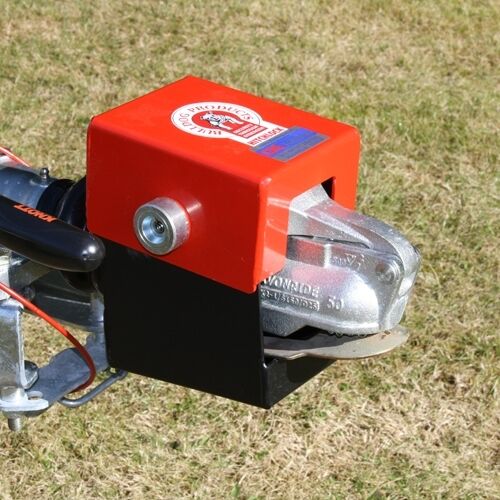
For those with a towable camper, your hitch is another area to check. Look for rust or damage and replace the affected parts. Once you feel comfortable with the exterior of your vehicle, you can move on to the next step!
2: Check your Tires
If your camper has been put away for the winter months, this step of de-winterizing your RV is critical. As your rig sits storage, your tires lose pressure at a rate of 2 or more psi per month. Driving with low tire pressure can create a dangerous environment for you and the drivers around you. Before getting on the road, check the pressure and refill to the pressure recommended by the manufacturer.
Along with the pressure, check your tires for any cracks or wear and tear, and consider purchasing new tires if there is damage. Remeber to check your spare as well!
3: Batteries
Many people don’t worry too much about their camper batteries while its in storage, meaning once its time to de-winterize your RV, the batteries will have a lower percentage. These batteries require a recharge before use. Those who kept their batteries charged while in storage can skip this. However, everyone should check the water level in the battery, adding distilled water if necessary. If these steps make you uncomfortable, have a professional take care of this step!
4: Propane
If your camper uses propane, don’t forget this step! Get your tanks out of storage and put them back on their mount. Next, connect the hose to the tanks. To check for leaks, turn the valve just a pinch to open the line a little. Take a soapy sponge to the end of the connectors and look for bubbles. Air bubbles are a sign that there is a leak, meaning your connection is not tight. Proper installation of propane tanks is a vital step in de-winterizing your RV.
5: De-Winterizing your RV Includes Caring for your Water System
Flushing and sanitizing your water system is an important part of de-winterizing your RV and has a few steps. Flushing your pipes is an important first step, as before winter you most likely added a non-toxic antifreeze to they system for safekeeping. This part isn’t too difficult! Hook up water to your rig, open all the faucets inside, and let the water run. The water should run for at least ten minutes, and remember to flush your toilet multiple times while it does. Keep your eyes on the water color. Clear water is a good indication that the antifreeze is gone.
Sanitizing is the next step, as mold and bacteria can grow in your system while it’s out of use. Sanitizing typically requires adding a small amount of bleach to water in your holding tanks and letting this solution sit in your pipes for a while.
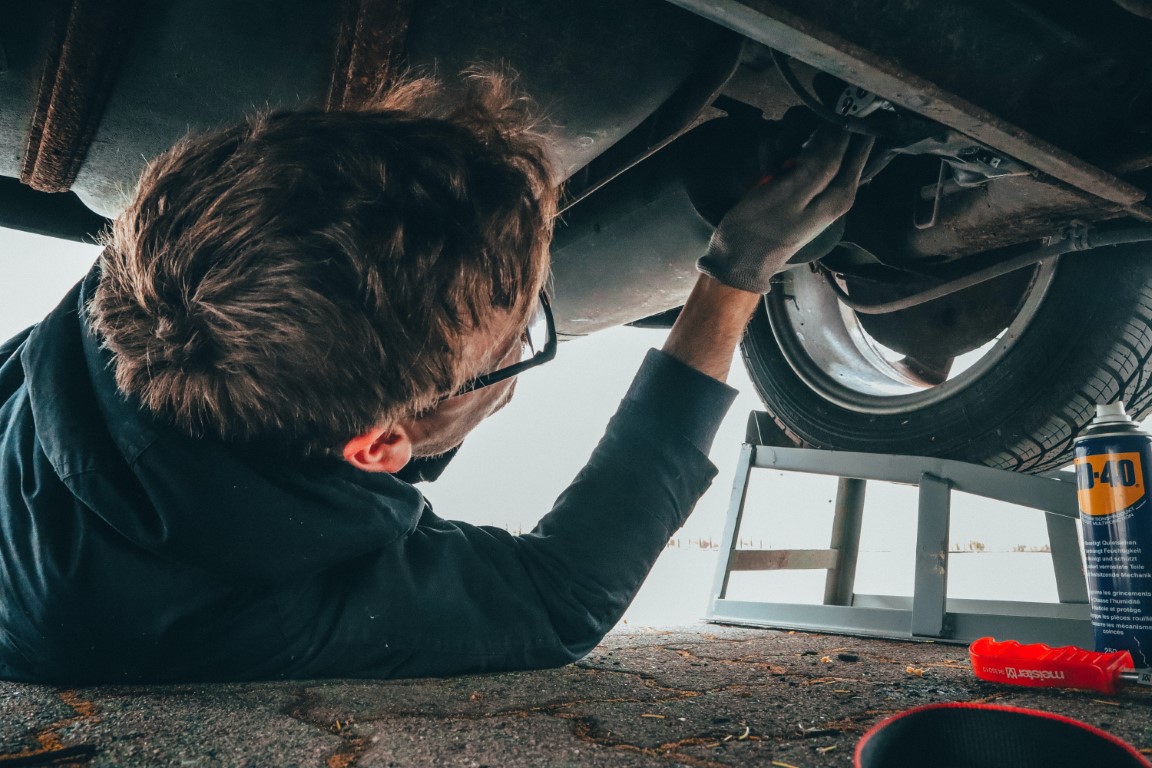
6: Engine
De-winterizing your RV also includes some motor maintenance! Your camper is still a vehicle, after all. Start off by taking a look at the engine fluid levels in your camper. The manufacturer’s manual should tell you what the levels should be at. If the levels are lower, try to find out why or visit a mechanic. Once that’s sorted, start your engine and check the gauges to ensure everything is correct! This is also a good time to check your lights and windshield wipers.
7: Generator
Generators need maintenance too! Check the oil level of your generator, and remember to have it serviced at the specified intervals. Check for any damage, especially to the exhaust system. If everything looks well, turn it on to test it! If there are any problems, have it serviced before your trip.
8: Appliances
Depending on your style, there are two types of appliances to test while you are de-winterizing your RV: propane and 120-volt.
After your propane tanks are installed, test the propane appliances. Remember, your water heater should be full of water before testing it. If any of these appliances don’t work, have a professional take a look at them.
Next, check your 120-volt appliances. Make sure you are hooked up to a 30 or 50-amp setup, or some of the more powerful appliances might not work correctly. If everything checks out, you are one step closer to getting on the road!
9: Change filters
Change all the filters! Water filters and air filters should be replaced before you hit the road. Fresh filters can help your appliances run better and more efficiently, so long as you pick the right ones! Make sure to choose the proper size for your needs.
10: Safety Supplies
First aid and emergency supplies can’t be forgotten! This blog provides a helpful list on things to keep in your RV first aid kit. Review these items, adding any that fit your needs, and double check what you have on board! Along with these items, make sure you pack emergency bottled water along with your normal supply. Also, pack tools in case an emergency camper repair is necessary! The first-aid kit for your camper should include batteries, leveling blocks, extra coolant, and more.
Take this time to check your carbon monoxide, LP gas leak, and smoke alarms. Double check the fire extinguishers and medicine you keep on board, replacing what is expired. Now you are just about ready to get going!
11: Book your Site at Riverview RV Park
The real last step of de-winterizing your RV is making a reservation with Riverview! We offer nightly, weekly, and monthly rates at affordable prices. Located in Sand Springs, Oklahoma, our grounds offer the perfect mix of city, with Tulsa just a few miles away, and nature, with peaceful walking trails and a beautiful view of the Arkansas River. To learn more about our grounds or make a reservation, visit us online or call us at (918) 245-8588.

