
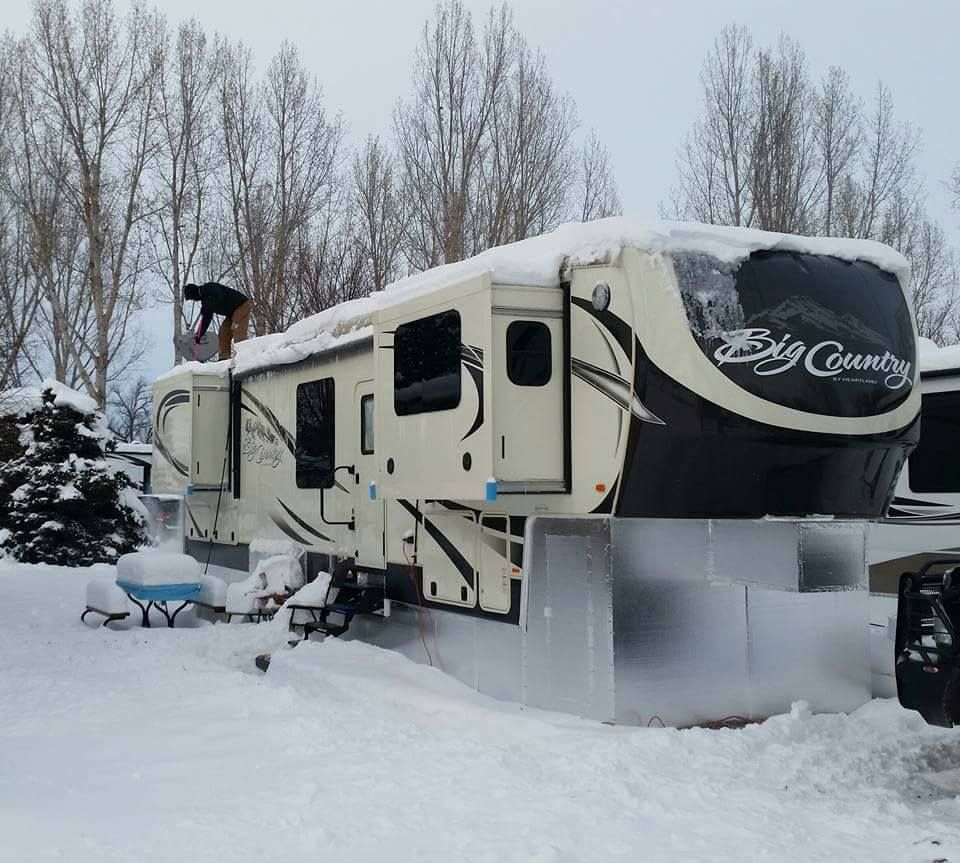
Fall camping is an amazing experience, but means the end of the camping season for most people! Once you decide to settle back home for the colder months, winterizing your RV is key! These steps are essential not only for your safety but to keep your motorhome in the best shape as well. Those who have experience storing their camper over winter might have their own routines, but here are some steps and tips if it’s your first time!
Supplies You’ll Need for Winterizing Your RV
There aren’t too many things you’ll need for winterizing your RV. Antifreeze is one of the most important things for this job, so make sure to have non-toxic antifreeze on hand. In addition, you’ll also likely need:
- A long brush for cleaning holding tanks
- A water heater bypass kit
- A water pump converter kit
Some of these tools are optional, but they can be handy to keep around!
Step 1: Drain the Water Tanks
The first step of winterizing your RV is to drain all the water tanks. Your freshwater, greywater, and blackwater tanks all need to be empty for proper winter storage. As the water freezes, it can cause issues through the system. Plus, your greywater and blackwater tanks can get all sorts of bacteria growing in them if left to sit. Just remember to empty your grey and blackwater tanks responsibly!
Your grey and blackwater tanks also need to be flushed, either by hand or if your RV includes a flushing system.
Step 2: Drain your Water Lines
Turn off your water heater and let it cool down and depressurize before trying to drain it. Once you’ve let it sit, you can take out the drain plug and open the pressure relief valve.
Next, open all the cold and hot water faucets, flush the toilet, and let the shower run. Once all the water is out, recap all the drains and close all the faucets.
Step 3: Bypass the Water Heater
Before starting the antifreeze part of your winterizing your RV, you need to bypass the water heater. You don’t want antifreeze getting into the water heater! If you don’t have a bypass kit installed, now is the time.
Step 4: Add the Antifreeze
Once all the steps above are completed, it’s time to add the antifreeze. This is done easily with a water pump converter.
Connect a clear piece of tubing to the inlet of your water pump and the other end into your antifreeze. Turn on the water pump, then go back into your camper and turn on the hot faucet until you see antifreeze, then the cold faucet until you see antifreeze. Do this to all the faucets in your rig, as well as the shower. Flush the toilet until you see antifreeze as well.
After the antifreeze is through the whole system, turn off the water pump and open one faucet to relieve the pressure before closing it once again.
Finish off by pouring a cup of antifreeze down all the drains and flush a few cups down the toilet into the holding tank.
Step 5: Winterizing your RV Appliances
Refer to your camper’s manual to find out how to prep your appliances for winter.
Final Steps
You’re almost there!
- Double-check again that all the faucets and drains are shut.
- Make sure the heating element in your water heater is off.
- For motorized units, put the parking brake on
- Top off the fuel tank and add fuel stabilizer
- Consider using your RVs leveling jacks to avoid any flat spots on your tires.
And that’s it! You’re finished winterizing your RV, and it’s time to head inside and rest!
Not Ready for Winterizing your RV? Come Stay with Riverview RV!
Riverview RV Park is open year-round for travelers! Our campground is located in Sand Springs, OK, just a short drive outside of Tulsa. Summer travelers and winter-lovers alike receive the same exceptional service and amenities, including fully equipped pads, free wifi, and more! Any time of year is the perfect time to book a stay with us!
To learn more, call us at (918) 245-8588 or visit us online!


